finding ways to use cooking, crafts, and hospitality to be a blessing for others

Monday, September 6

Pop Star!

Happy Birthday Pops!

my dad with his sons-in-law

Today is my dad's birthday and I am excited for him to have the day off from work to celebrate. He is turning 50 and we are all so excited for him! These are pictures of a little party we had with him. My mom decorated the table. I love the birthday table runner!


And, even though it is a bit of a pun... we made pops for Pops. To top some cupcakes we made little pops signs to wish him a happy birthday. This is a tutorial to show you how!

First, I purchased a scalloped paper cutter from a local scrapbook store. The one pictured was about $25. I used it to make the birthday banner. I also have a smaller scallop cutter that I used for these cupcake toppers/lollipop signs.

To cut the non-scalloped circles, you can use di-cuts or cutting tools available at craft stores. I used Creative Memories tools that I have. Also, gather the supplies pictured above to create the lollipop signs (duct tape, scrapbook tape, lollipop sticks, a marker and paper)


I glued the scallop on top of the larger circle and used a sharpie to write messages. If you are looking for a more sophisticated/professional/fancy final product, try a fun font or computer software to jazz up the image on the scallop.

attach the stick to the topper

Waaa-la!!!

It's simple, fun and cheery!
Now, go love on those you know with birthdays!!!

Sunday, September 5

Tea Party Twist

You are invited to a Tea Party!
It's part tea party, part dance party...

I am sharing these pictures from a little party and friend and I had for some girls in our youth group. There are not any recipes listed, but lots of fun and simple tea party food ideas.


ham and turkey sandwiches

chocolate covered strawberries filled with whipping cream

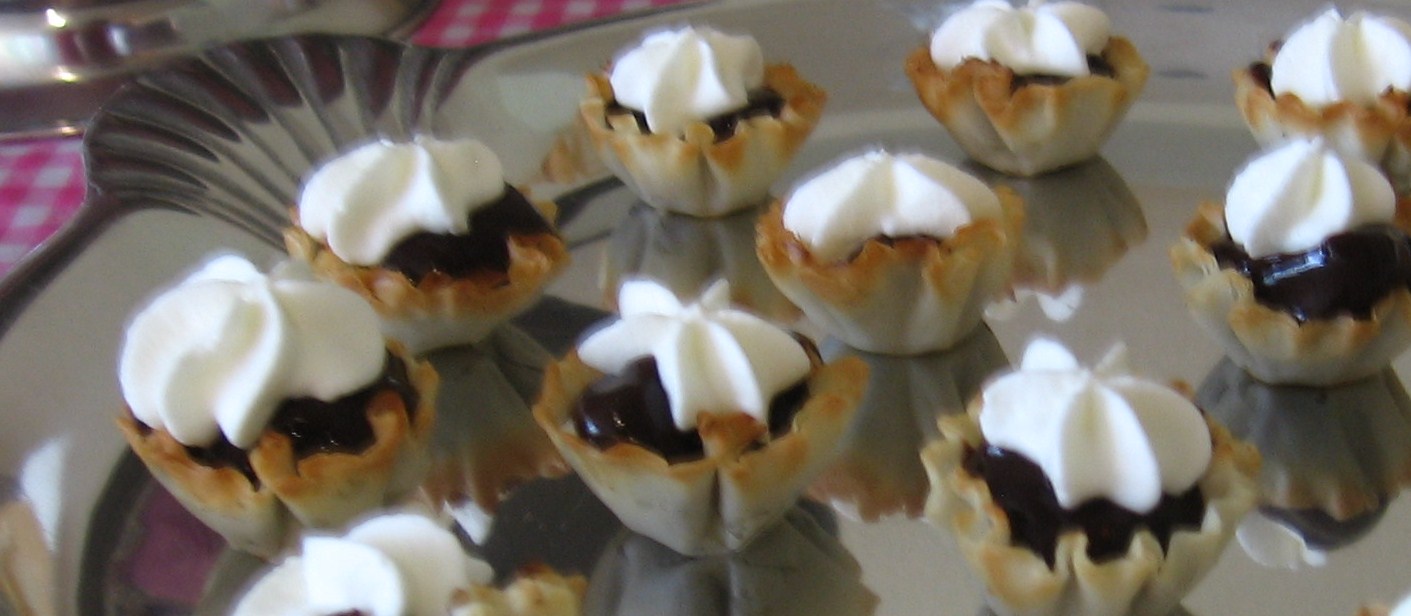
chocolate pudding in phyllo cups

oreo pudding shooters

cranberry scones

mini cupcakes
(Oh, how I love mini cupcakes!)

macarons


Saturday, September 4

Jenni Mouse

My sister and her husband recently had a Minnie Mouse party for their little girl. Stephanie shared with me all of the fun things she did to make the party special!


the invitation

Stephanie made these invitations based on a tutorial she saw here
the birthday girl's apparel
Stephanie made the shirt. She cut the outline of Minne's face from black fabric,
ironed it onto a white t-shirt and then added a pink polka-dot bow!
My mom made the skirt using cotton fabrics, thick rick rack and an elastic waist band.


the table
Stephanie made all of the paper products for the party.
-banner, invitations, water bottle wraps, cupcake toppers, napkin rings, & place cards-
She used computer graphics, colorful card stock and thin pink ribbon for an accent.


homemade sugar cookies
tutorial


Are you looking for more Minnie Mouse party ideas? If so, check out:

Second Street
bonus: site includes tutorials for each of the handmade items
Minnie cake, party hats and birthday outfit, and favor bags


Heavenly Blooms
flowers, hats and picture frames
I LOVE this flower arrangement.
I love flowers in general, but I think this is A-D-O-R-A-B-L-E!!!
the site gives instructions on how to put together this centerpiece


The Party Animal
ideas for cookies, favors and invitations


Catch My Party
ideas for chocolate candy pops, pom centerpiece and a banner


Bakerella
Minnie Mouse Cake Pops
just lovely


Other Fun Ideas

Last week at the grocery store I saw some cheddar cheese that was packaged in snack sized Minnie/Mickey mouse face cut-outs. It would also be easy enough for you to do that using a small cookie cutter. It would also be cute to cut fruit (watermelon, cantaloupe, apple slices...) into the Minnie Mouse face shape.

I have also seen sandwiches that are cut into fun shapes. If you used a large Minnie Mouse cookie cutter you could cut into sandwich bread to shape like a Minnie Mouse face.

Happy Planning!


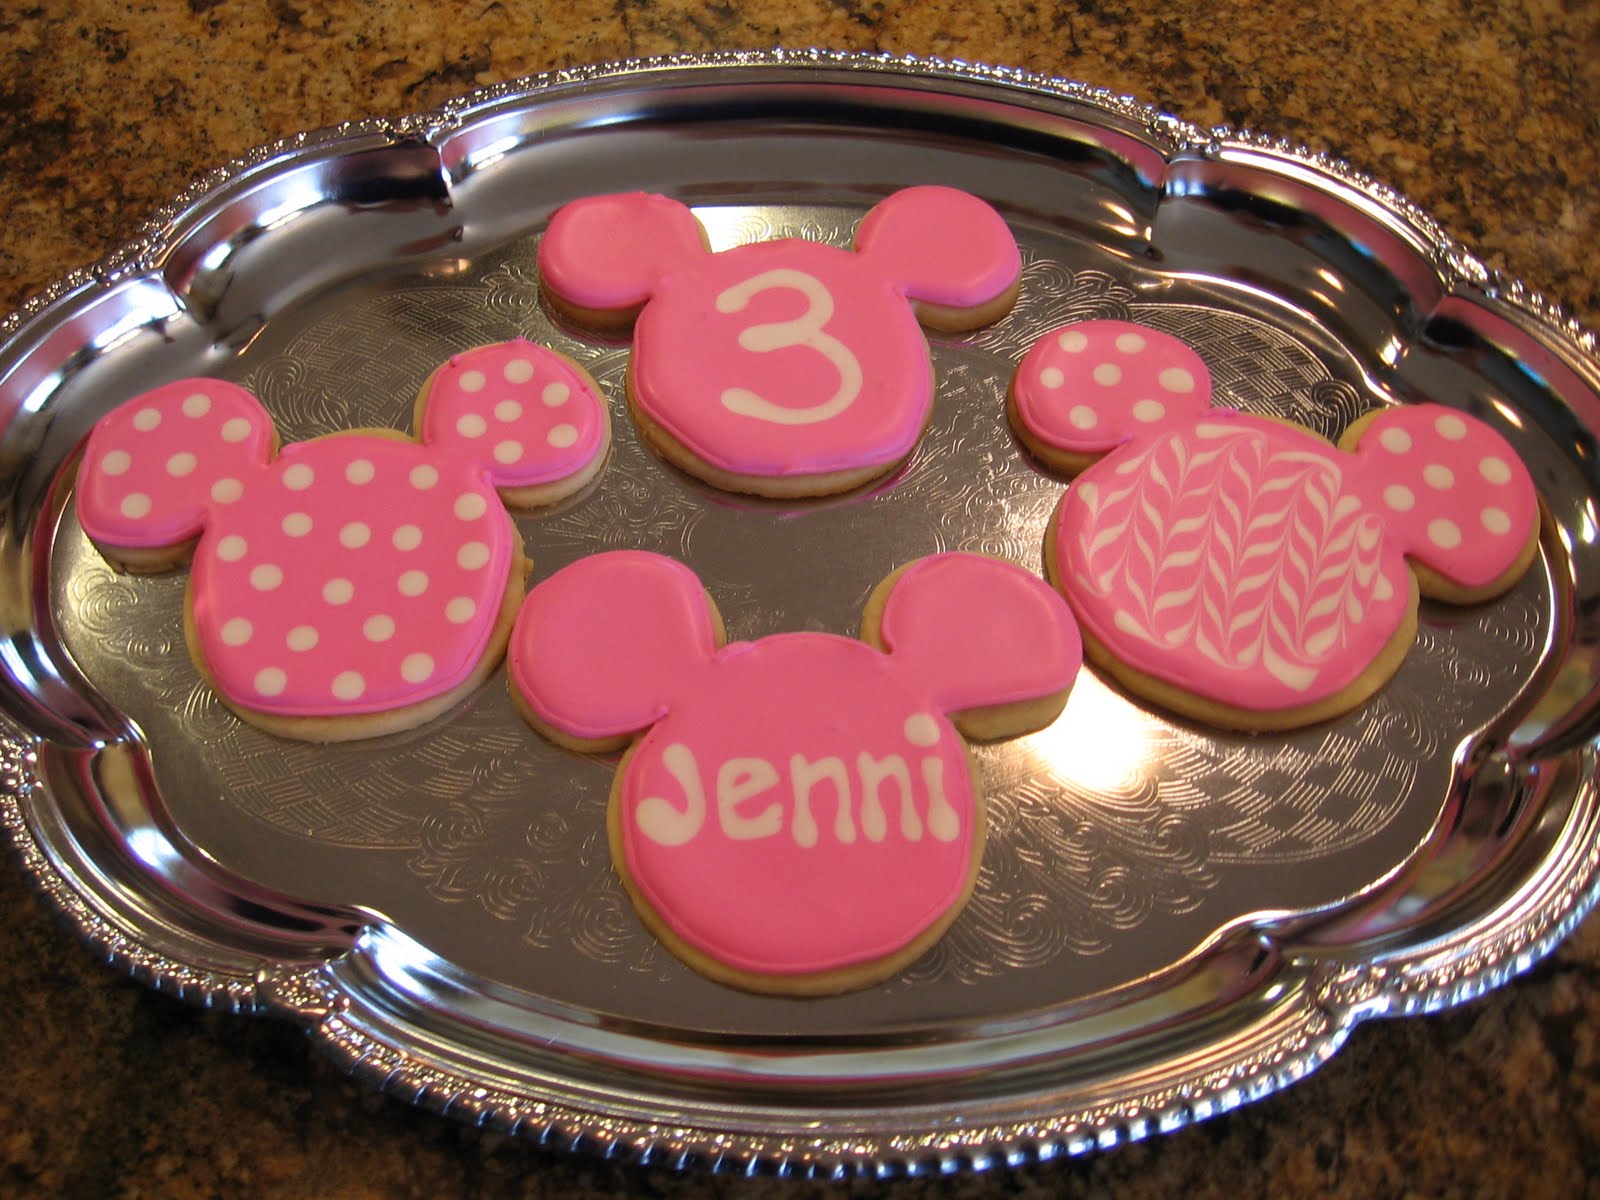
Minnie Mouse Party Cookies

This tutorial skips the steps of baking the cookies and basic icing techniques.
It covers the steps for adding the fun details shown below.


Step 1: you will need a Minni Mouse/Mickey Mouse cookie cutter.

Step 2: make a batch of sugar cookie dough and use the cookie cutter to shape them. Bake cookies and allow to cool. Then, You can immediatly go to step 3 or you can store/freeze cookies until you are ready to decorate.

Step 3: prepare icing for cookies. I use a combination of consistencies based on a royal icing recipe. I use a thick consistency to outline the perimeter of the cookie, and a thinner consistency to fill the cookies.

Step 4: to add some details to the cookies...

Polka Dots
For a basic polka dot cookie, you will pipe an outline onto the cookie, fill the cookie with a thin consistency of icing (in this case-pink icing) and immediately after filling the cookie you will squeeze dots onto it (in this case, we used a bottle to drop on white dots).

For this process, you can only work on 1 cookie at a time. And, you must work quickly. After allowing the cookies to dry overnight the polka dot pattern will look seamless and super cute!

Numbers
For a number 3, you will follow the same steps shown above, except you will not drop dots onto the wet icing, you will pipe the number. To ensure that the number is piped evenly, make sure there are no air bubbles in the icing bottle and that you have enough icing to make the outline. Like the polka dots, this icing will dry seamlessly in the pink icing.

Names
This was the trickiest of all the cookies. Names are hard, because spacing and the length of the name. First, follow all of the steps for polka-dot cookies, except you will pipe letters instead of dots onto the wet cookie. To have the steadiest hand, it is best to not rest any part of your arm on a counter surface. Also, if you mess up, just quickly wipe off all of the icing on the cookie and start over.

Herringbone Design
The herringbone cookie design is very simple to do and makes such a cute cookie. Instead of making my own tutorial, I will direct you to one that I like on Sweetopia's blog.

Sweetopia's tutorial is awesome! She includes lots of pictures and a variety of cute ideas for cookie decorating!


Happy Decorating!!!

Granola Bars

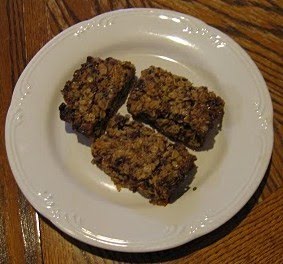
I love these granola bars! They are thick and chewy and a great on-the-go breakfast!


GRANOLA BARS
This recipe is adapted from a King’s Arthur Flour recipe.

Note
This is a very flexible recipe. You can add any variety of fruits, nuts, or seeds to it.

Ingredients
1 2/3 cups quick rolled oats (or opt to use gluten free oats)
1/3 cup quick rolled oats, processed till finely ground in a food processor or blender
1/2 to 3/4 cup sugar
1/2 teaspoon salt
1/4 teaspoon ground cinnamon (optional)
2-3 cups dried fruits and nuts
1/3 cup peanut butter or almond butter
1 teaspoon vanilla extract (optional)
6 Tablespoons melted butter
1/4 cup honey, maple syrup or corn syrup
2 Tablespoons light corn syrup
1 Tablespoon water

Suggestions for fruit/nuts to put into recipe
Dried Fruit: cranberries, cherries, apricots, apples
Nuts: pecans, walnuts
Seeds: sunflower seeds, sesame seeds
Powders: wheat germ
Other: coconut, chocolate chips, peanut butter chips

Directions

Preheat the oven to 350°F. Line an 8x8x2 pan with parchment paper, allowing it to go up the opposing sides. Lightly grease the parchment paper and the exposed pan, or coat with a non-stick spray.

Stir together all the dry ingredients, including the fruit and nuts. In a separate bowl, whisk together the vanilla, melted butter or oil, liquid sweeteners and water. Toss the wet ingredients with the dry (and peanut butter, if you’re using it) until the mixture is evenly crumbly.

Spread in the prepared pan, pressing firmly to ensure the granola is molded to the shape of the pan. (A piece of plastic wrap can help with this, as you press down on the back of it.)

Bake the bars for 30-40 minutes, until they’re brown around the edges. They may seem under-baked, but do not worry, they’ll set completely once completely cool. Cool the bars in their pan completely on a cooling rack. Then, chill in the freezer for about 20 minutes. Use a serrated knife to cut the bars into squares. (Chilling in the freezer helps to further set the bars and aid in the process of cutting them without creating crumbly bars.)

To store, wrap the bars individually in plastic or stack them in an airtight container. In humid weather, it’s best to store bars in the refrigerator. They also freeze well.